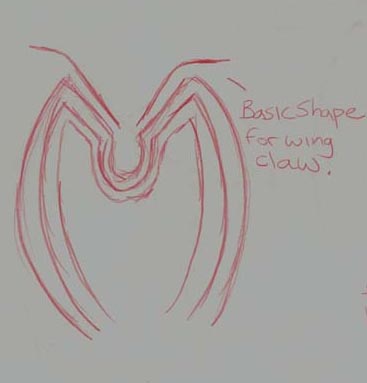
The wing Claws, are very easy. Cut a wire about 5 or 6 inches longer that the Spans of the M and bend the to curve however you wish. Mine were curved out to the side. If you wish for 2 talloned wing claws or 3, just cut 1 or 2 extra wires the same length and shape.
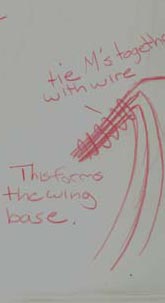
After you have all your ribs done, you'll have to connect them together. Gather all your wires together at the middle on the M and the two spans that come from the middle. This will be the wing base. Secure all the wires in these sections together by wrapping another wire around it tightly. String also works, but I recommend wire for strength.
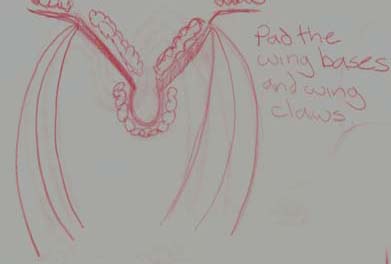
 My Handwriting is awful...I know...
Now that you have your frame completed, its time to make them look like wings. First thing to do is to pad out the wing claws and base. Your choice of padding is up to you. You can either hot glue pillow stuffing to the base, or wrap quit padding or other fabric around it. This will flesh out your wings. You may also pad the rib wires as well if you want.
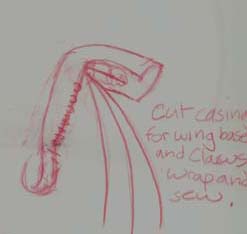
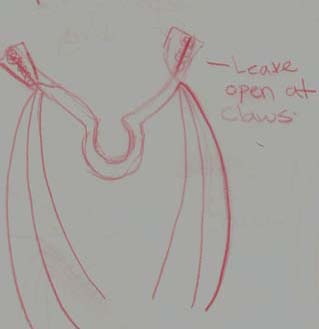
Now that you have it padded, you'll want to make a casing for the Wing claws and base. A Casing is just a strip of fabric. Place the base on one side of your strip and fold it over. then sew the sides together around the base. leave the casing open at the tips, leaving the wing claws exposed.